


Let’s face it, no one likes to iron. But having a creased shirt speaks volumes without you even knowing it.
When you’re a young, single professional man who doesn’t have their mum or partner to iron their shirts for them you may think its acceptable to throw it on the the “creases will fall out” - sorry it doesn’t work like that! It’s time to be self sufficient and master this basic life skill.
Especially if you're wearing a smart shirt for the office.

If it's your first day in the office or going on a first date, your first impression is everything, if you have a creased shirt it will be your first and last. Details like this matter when it comes to your appearance. Creases or wrinkles in your shirt draw the eye immediately, and give the impression that you look sloppy and don’t care about your appearance. If you want to look your best and really care about being well-dressed, learning how to iron a long sleeve shirt properly is key. It shows that you understand the finer details.
Once you get the hang of ironing, it isn’t difficult. You can iron a shirt in less than 5 minutes with this fast and effective guide. If you are a beginner, start here. If you are have some experience, you can take some handy ironing hacks from our guide below.

How to Iron a Shirt
Ironing a garment targets the wrinkled fabrics fibres. This loosens the chemical bonds causing the straightening of the fabric. Similar to how protein fibres are affected post workout, then what do you do - consume protein!
The process of ironing the shirt requires both weight of the soleplate on the iron and the heat generated from it. It has been argued that the same result can be achieved through steam alone. But the truth is the best results come to the crisp pressing a hot iron provides.
If wearing a crisp, wrinkle-free dress shirt doesn't convince you that ironing is important – here's the bigger picture:
Your shirts will last longer. Instead of dry cleaning, caring for your shirt yourself will pay dividends. It gives you a chance to focus on taking care of specific parts that need extra attention. You also work lighter on the parts that may not need as much care - this adjustment alone can add years to the lifespan of your shirt.
Not only that you save a significantly amount of money. Dry cleaning costs stack up. Getting your shirts ironed bi-weekly or once a month you can spend up to £250 a year on dry cleaning! It starts to add up

How to Iron a Dress Shirt
Before getting our dress shirt ready to iron theres a few things we're going to need.
Clean and High Quality iron
There should be zero rust or sediment on the base plate. If you are unsure, use an old cloth to see if it causes any stains. If your iron experiences a sediment build up, trying running a 50/50 solution of vinegar and distilled water through the steamer function to fully clean it.

Quality, quality, quality
How do you identify a quality iron? A well built baseplate – this is where the magic happens on the iron. Look for something that is smooth and solid. There are generally three options for soleplates - solid steel, cast iron and titanium coated. You find these on reasonably priced irons but don’t go below £25 as manufacturers tend to use poor quality material to keep costs low. Low quality baseplates do not clean as well and do not distribute heat evenly. Certain cotton fabrics require a high heat to reform their shape so using a higher quality iron can cut your ironing time in half.

A high quality iron will have more efficient steam delivery through the garment. Hot moisture from the steam smooths out the toughest of wrinkles with minimal work required. A good steam iron can slash dry cleaning costs significantly. If you can reduce the amount of effort to iron by choosing a great, quality iron you no longer see it as a chore.
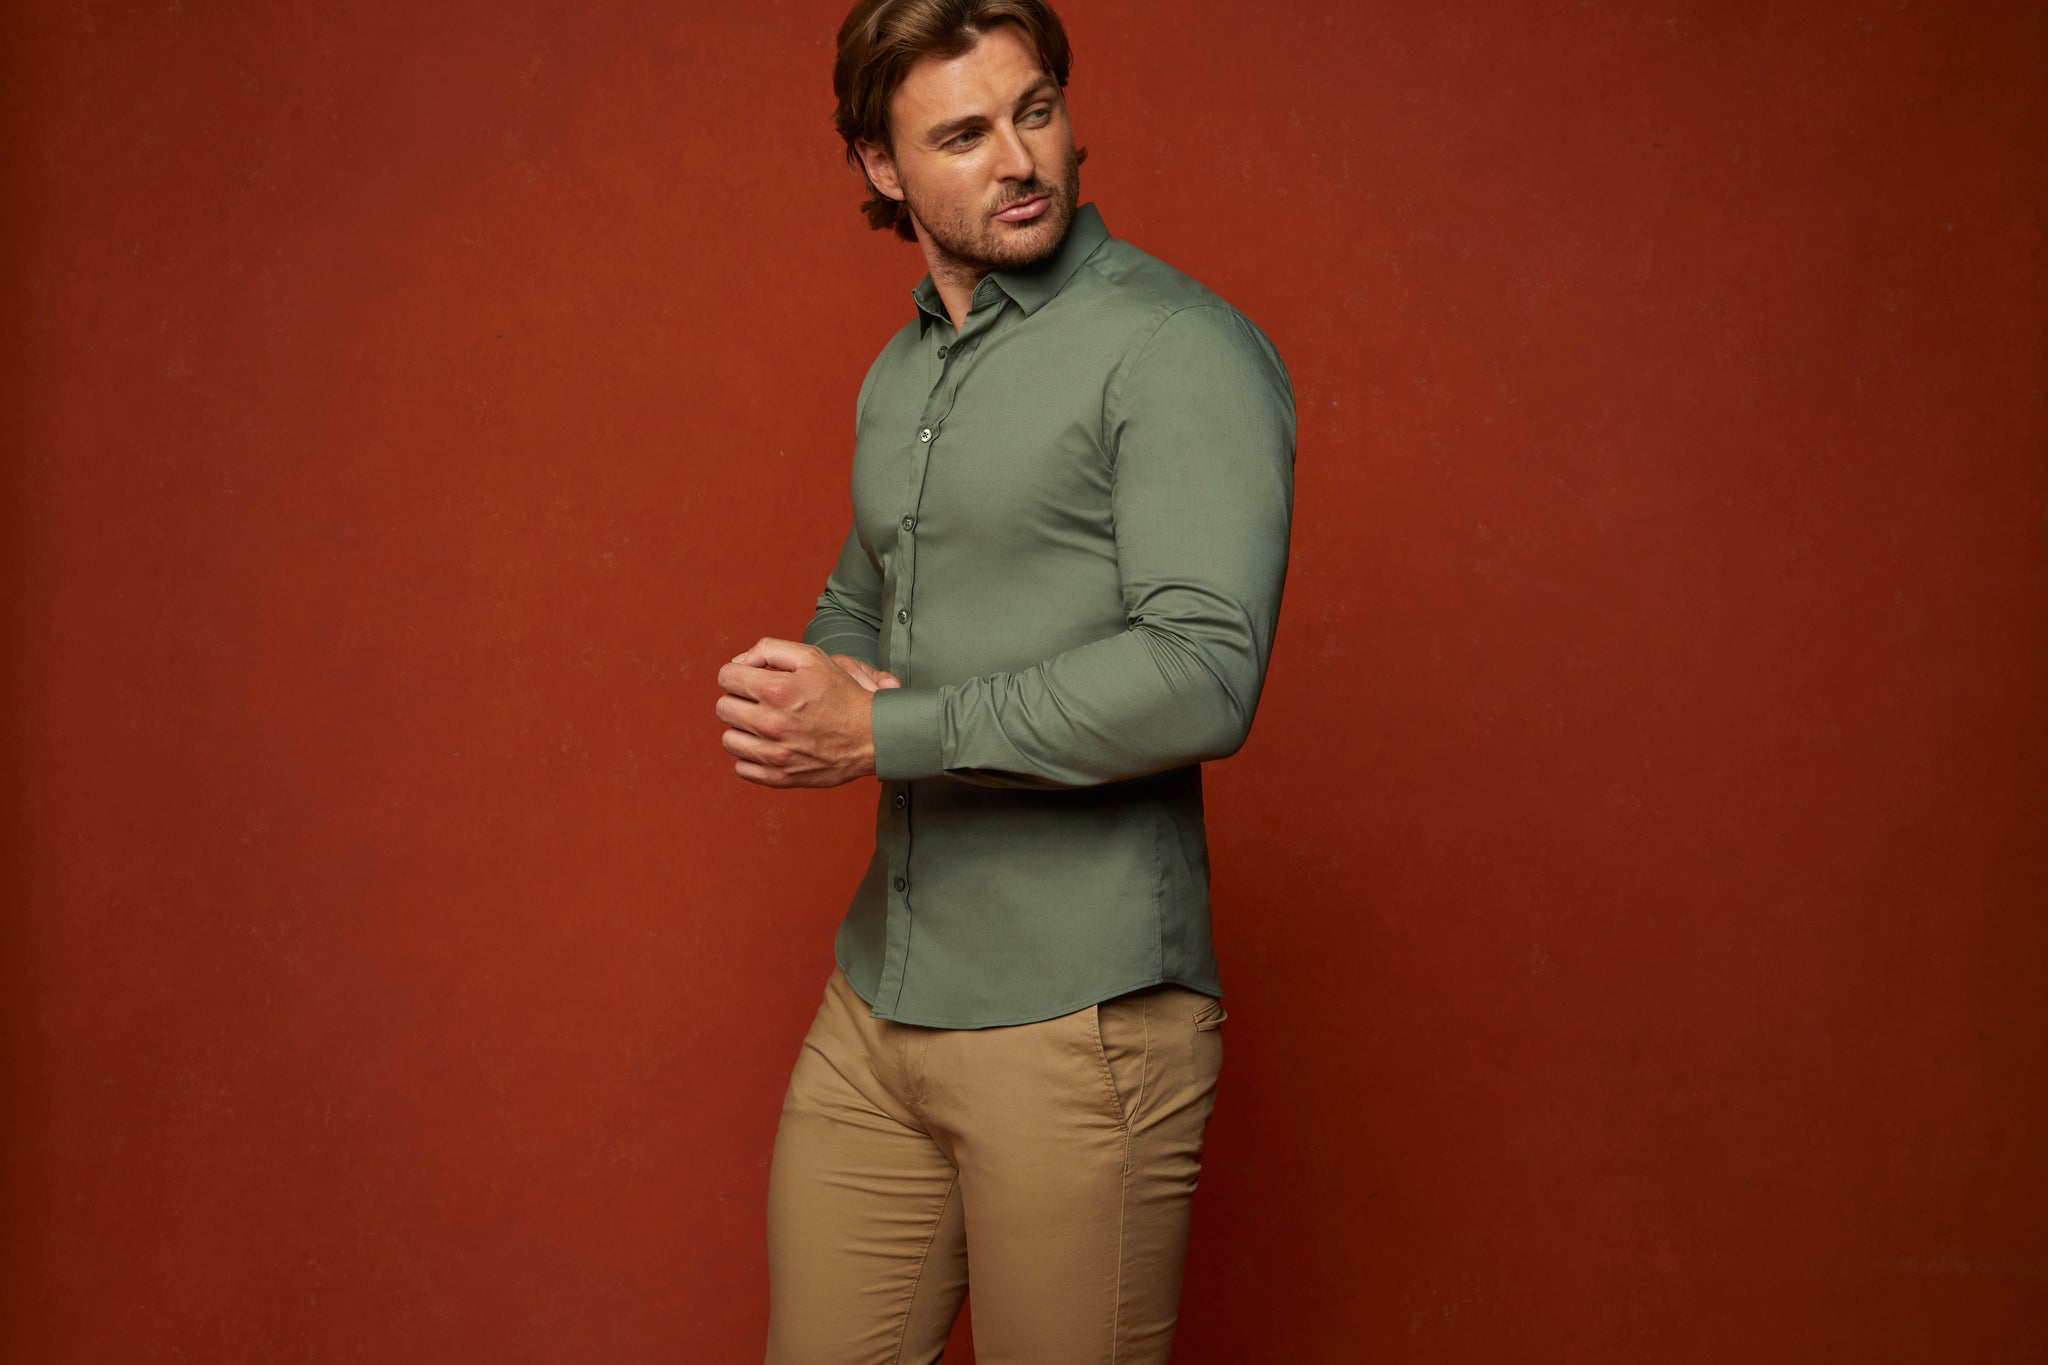
High Quality Tapered Fit Shirt

We can only recommend using the very best shirt in your wardrobe. That being the Tapered Fit Shirt.
To minimise wrinkles. Remove your shirt from the dryer as soon as possible. Note the care label inside the shirt garment. This is generally on the inside waist of the shirt. The label shows an iron symbol with dots. This indicates the heat level the iron should be for the fabric (and if the shirt can be ironed)
One dot – it's a synthetic shirt. Heat should be in the low settings (175-230 degrees).
Two dots – it's a silk or wool shirt. It would need medium settings (250-300 degrees).
Three dots – it's a linen or cotton shirt. It requires 320-400 degrees to return to form. These materials are also the only ones that should receive any steam (unless you see an X through the steam symbol). So you'll need some distilled water for these cases.
If your shirt has removable collar stays, don’t forget remove them before you start ironing.
Ironing Board
It's a given that an ironing board is necessary. You don’t need to spend a lot, something sturdy and has a clean pad. A pro-tip - you can place aluminium foil under the ironing board cover to reflect the irons heat back on itself. Doing this you are ironing both sides at once, but while increased heat is a time saver, you need to ensure you don’t burn the garment.
Water or Distilled Water
Water is used to not only reset the fabric to an unwrinkled state but to reduce the risk of the hot iron burning the fabric.
Tap water is perfect for most irons. But doing this over time you will eventually have a build up of mineral deposits. The first warning sign is when the steam output comes to a crawl. To clean the water reservoir, simply pour a solution of water and white vinegar into the reservoir. Heat the iron and let the steam product for a few minutes before turning off. Place the iron with the baseplate flat on a heat resistant surface and drain the water. Give it an hour, then repeat. After repeating once rinse and refill with non-tap water. This can be bottled or distilled.
Distilled water is free of small dirt and has a high concentration of calcium and magnesium, both common in hard water. This avoids having to clean the iron and doesn’t cause any long term damage.
How Long Does It Take to Iron a Shirt?
Ironing a shirt can take different amounts of time depending on your skill level, the fabric type, and the shirt's condition. Beginners might need around 10-15 minutes per shirt as they get the hang of it, especially when tackling tricky areas like collars and cuffs.
However, with practice, this time can drop to about 5-7 minutes. To iron efficiently, ensure the shirt is slightly damp and use the right settings on your iron. This approach not only speeds up the process but also ensures a crisp, professional finish.
How To Iron Shirts: Step by Step
Preparation
To make these instructions as clear as possible, I’m assuming you are batch ironing four or five cotton dress shirts with an iron setting of five to six (depending on your iron).
If you’re looking for a super crisp result. Turn the shirt inside out and iron the inside before fully ironing the outside. Although it adds a few minutes to the process it gives a much better result. Particularly on thicker fabrics. If you are using the aluminium foil trick I gave earlier, you don’t need to do this.
Read the shirt’s care label and the type of heat you should be generating. You want the shirt to be slightly moist but not wet. This helps dry ironing without having to wait for the steam function.
Next ensure the iron has water in it and then plug it in, set to the lowest heat setting you’ll need. Within 5 minutes the iron should be ready and all the shirts moistened. Then the (not so) fun part!
We will go through each part individually so that you can maximise efficiency of each of the below sections:

Step 1: How to Iron a shirt collar
Always start by ironing your shirt collar. This is the most visible part of the shirt which will give people their first impressions! Begin by popping the collar and lay it flat on the ironing board with the back of the collar facing up. Start ironing at the edges of the back of the collar and working your way towards the middle. It’s important to start with the edges, if you start with the middle it may cause the fabric to gain creases near the point of the collar. Repeat this process on the front of the collar. It’s important to press slightly harder on the collar as its generally thicker and stiffer material. Once both sides of the collar are ironed I like to fold the collar down to its natural position and iron it once more to give it that final sharpness.
Step 2: Iron the Cuff
When wearing a jacket the cuffs receive a lot of attention so don’t take shortcuts on the cuffs!
Start by unbuttoning the shirt cuff and lay it flat. Iron the inside of the cuff then the outside. Carefully iron around the buttons being careful not to damage them. Never iron over the buttons directly, if you are conscious of ironing around the buttons, you can iron the backside of the button stitching.
Step 3: Iron the Sleeves
It’s important to start with the sleeves compared to the body of the shirt. If you were to iron the back or front of the shirt first, when it comes to ironing the sleeves you can create folds in the body of the shirt as you move it around the ironing board.
Ironing one sleeve at a time. Start by laying the sleeve long ways on the ironing board. Before placing the iron on the sleeves, smooth them out with your hands first. This prevents unwanted creases, or folds being created with the iron. Start with the cuff and move up towards the shoulder. Quickly flip the shirt over and touch up the other side of the sleeve. Repeat the same on the other sleeve.
Step 4: Iron the Back
Unbutton the shirt completely and spread it flat on the ironing board. Position the head of the sleeve into the square end of the ironing board. This way you have half of the back in prime position for ironing. In doing this once you have ironed one half of the back, simply slide the shirt over to finish the other half. Start at the yoke (back of the shoulder) applying moderate pressure sliding the iron down the back slowly. Be careful that the shirt remains flat and you don’t iron wrinkles into the garment. If there are stubborn wrinkles on the back simply spray water or use a little steam. If you have a centre box pleat, spend a little more time ironing around it.
Step 5: Iron the Shoulders (Yoke)
Once the back is complete, it’s time to iron the shoulders which is also known as the yoke of the shirt. This is often the most tricky part to iron and requires moving it more frequently around the board. Place the shirt over the narrow end of the ironing board as if the board was inside one of the sleeves. Iron the yoke towards the middle moving the shirt around the board as you iron. Repeat the same steps on the other sleeve.
Step 5: Iron the Front (Placket)
It’s time to iron the front (the placket) of the shirt - the final part of the process! Do one side at a time being careful of the buttons. Remember do not iron over the buttons as you can damage them by doing this. The aim here is to get the placket crisp and have a nice finish as this is the most essential part of the shirt. If you have a shirt pocket, start from the outside moving in. Use the point of the iron to get into the areas around the front of the collar. Its always worth spending the most time on the placket as this area is getting the most attention.
If you prefer to watch a full instructional video we recommend the Gentleman's Gazette:
Step 6: Inspect & Hang
Hang your shirt up and inspect. Spot iron where necessary.

Word of warning:
To conclude our guide this process comes with Three Warnings:
If you are unsure of your shirts fibre time, iron on a lower setting, you can always increase the temperature but once the fabric has been damaged, there is no way to resolve it.
As said before, do not iron over buttons. Even if there is fabric on top of the buttons, for example a pocket with buttons underneath, or a hidden button down collar. You can create a permanent impression on the shirt fabric that will ruin the appearance of the shirt.
Its a given but make sure your shirt is clean. If you iron a dirt shirt, it will set stains in the shirt and become more difficult to wash.

Best Way to Iron a Shirt
Batch iron your shirts, the set up process can take as much time as ironing one shirt. Ironing a shirt can only take a few minutes so the preparation time is the most time consuming. Use your time more effectively by ironing your shirts in batches.
Forget the dryer, iron the shirts when they’re still moist. Take them from the washing machine straight after washing. Not only does this gives the shirt a crisp finish after ironing, but it also avoids the damage a dryer can inflict. If you absolutely have to use the dryer, put the shirt on straight away and the warm air will and your body shape will loosen some of the worst of the wrinkles.
Learn how to care for your iron. Always empty the water from your iron whilst the iron is hot. This reduces moisture that remains in the water compartment. Not only that, its a handy reminder to unplug the iron before leaving the house! Most modern irons have an auto-turnoff after a certain time frame but if you have an older model you might not be so lucky! It’s also necessary to clean your iron. While the iron is unused and cold - try running a damp cloth over the iron to take off any residue. This will avoid marks transferring onto your shirt.
Heres a nifty trick from life hacks on cleaning your iron:
Stains, check for these before ironing. Ironing a stained shirt causes the stain to settle permanently on the fabric. Even the smallest stain can be amplified through ironing so check this before you start.
If you are using an iron that could leave a stain, turn the shirt inside out and iron the inside only. It won’t provide the shirt a crisp finish but if it means a clean shirt without any stains, it will be sufficient. This also goes for the ironing board, if the pad looks like if can leave a mark, cover it with a towel. Or throw the pad away and buy a new one, these are very inexpensive and universally sized.
For dark coloured shirts, iron these inside out. This helps prevent sheen on the fabric - the shiny iron marks you sometimes see on shirts.
Should Shirts Be Wet or Dry When Ironing?
For the best results, shirts should be slightly damp when ironing. This allows the iron to smooth out wrinkles more effectively, giving you a crisp and clean finish. If your shirt is dry, you can lightly mist it with water using a spray bottle.
Alternatively, using the steam function on your iron can help achieve the same effect. Dampening the fabric ensures that even stubborn creases are easily ironed out, making the process quicker and more efficient.
Should You Turn Shirts Inside Out When Ironing?
Turning shirts inside out when ironing can be beneficial, especially for delicate fabrics or shirts with prints and embellishments. Ironing inside out helps protect the fabric from direct heat, reducing the risk of damage or shine marks.
This technique is particularly useful for dark-colored shirts, as it prevents any potential fading or scorching. By ironing inside out, you can ensure that the exterior of your shirt remains in pristine condition while still achieving a smooth, wrinkle-free finish.
What Happens If You Iron Too Hot?
Ironing at too high a temperature can damage your shirt in several ways. High heat can scorch the fabric, leaving permanent burn marks that ruin the shirt's appearance. It can also cause synthetic fabrics to melt or warp, altering the shirt's shape and texture.
Overheating can lead to unsightly shine marks, particularly on dark or delicate fabrics. To avoid these issues, always check the care label and adjust your iron to the appropriate setting for the fabric type. Using a pressing cloth can also help protect your shirt from excessive heat.
Travel Iron Tips

For the sharply dressed traveller, a travel iron is a wise investment. Hotels do normally have an iron and ironing board available. When they do these are usually a terrible standard, when they don’t? Well…then what?!
Having your own travel iron gives you that peace of mind that you’re familiar with and can prepare your shirt on time. If there isn’t an ironing board in the hotel just get a clean towel and place it on a flat surface.
If you are planning to pack shirts for a weeks worth of travel, don’t even bother ironing them before hand. You will see when you unpack them why its a waste of time! Give yourself plenty of time before arrival to iron your shirts before your event.
Ironing Dress Shirts The Right Way
And there you have it! You are now equipped with all the knowledge and skills for how to iron your shirt effectively and safely.
Never underestimate the power of a well ironed shirts, now you can always leave the house in the sharpest of shirts.
Not only do you want your shirt to be well ironed, fit is king. Our Tapered Fit Shirts are designed to accentuate you physique and provide the look for a bespoke tailored piece.
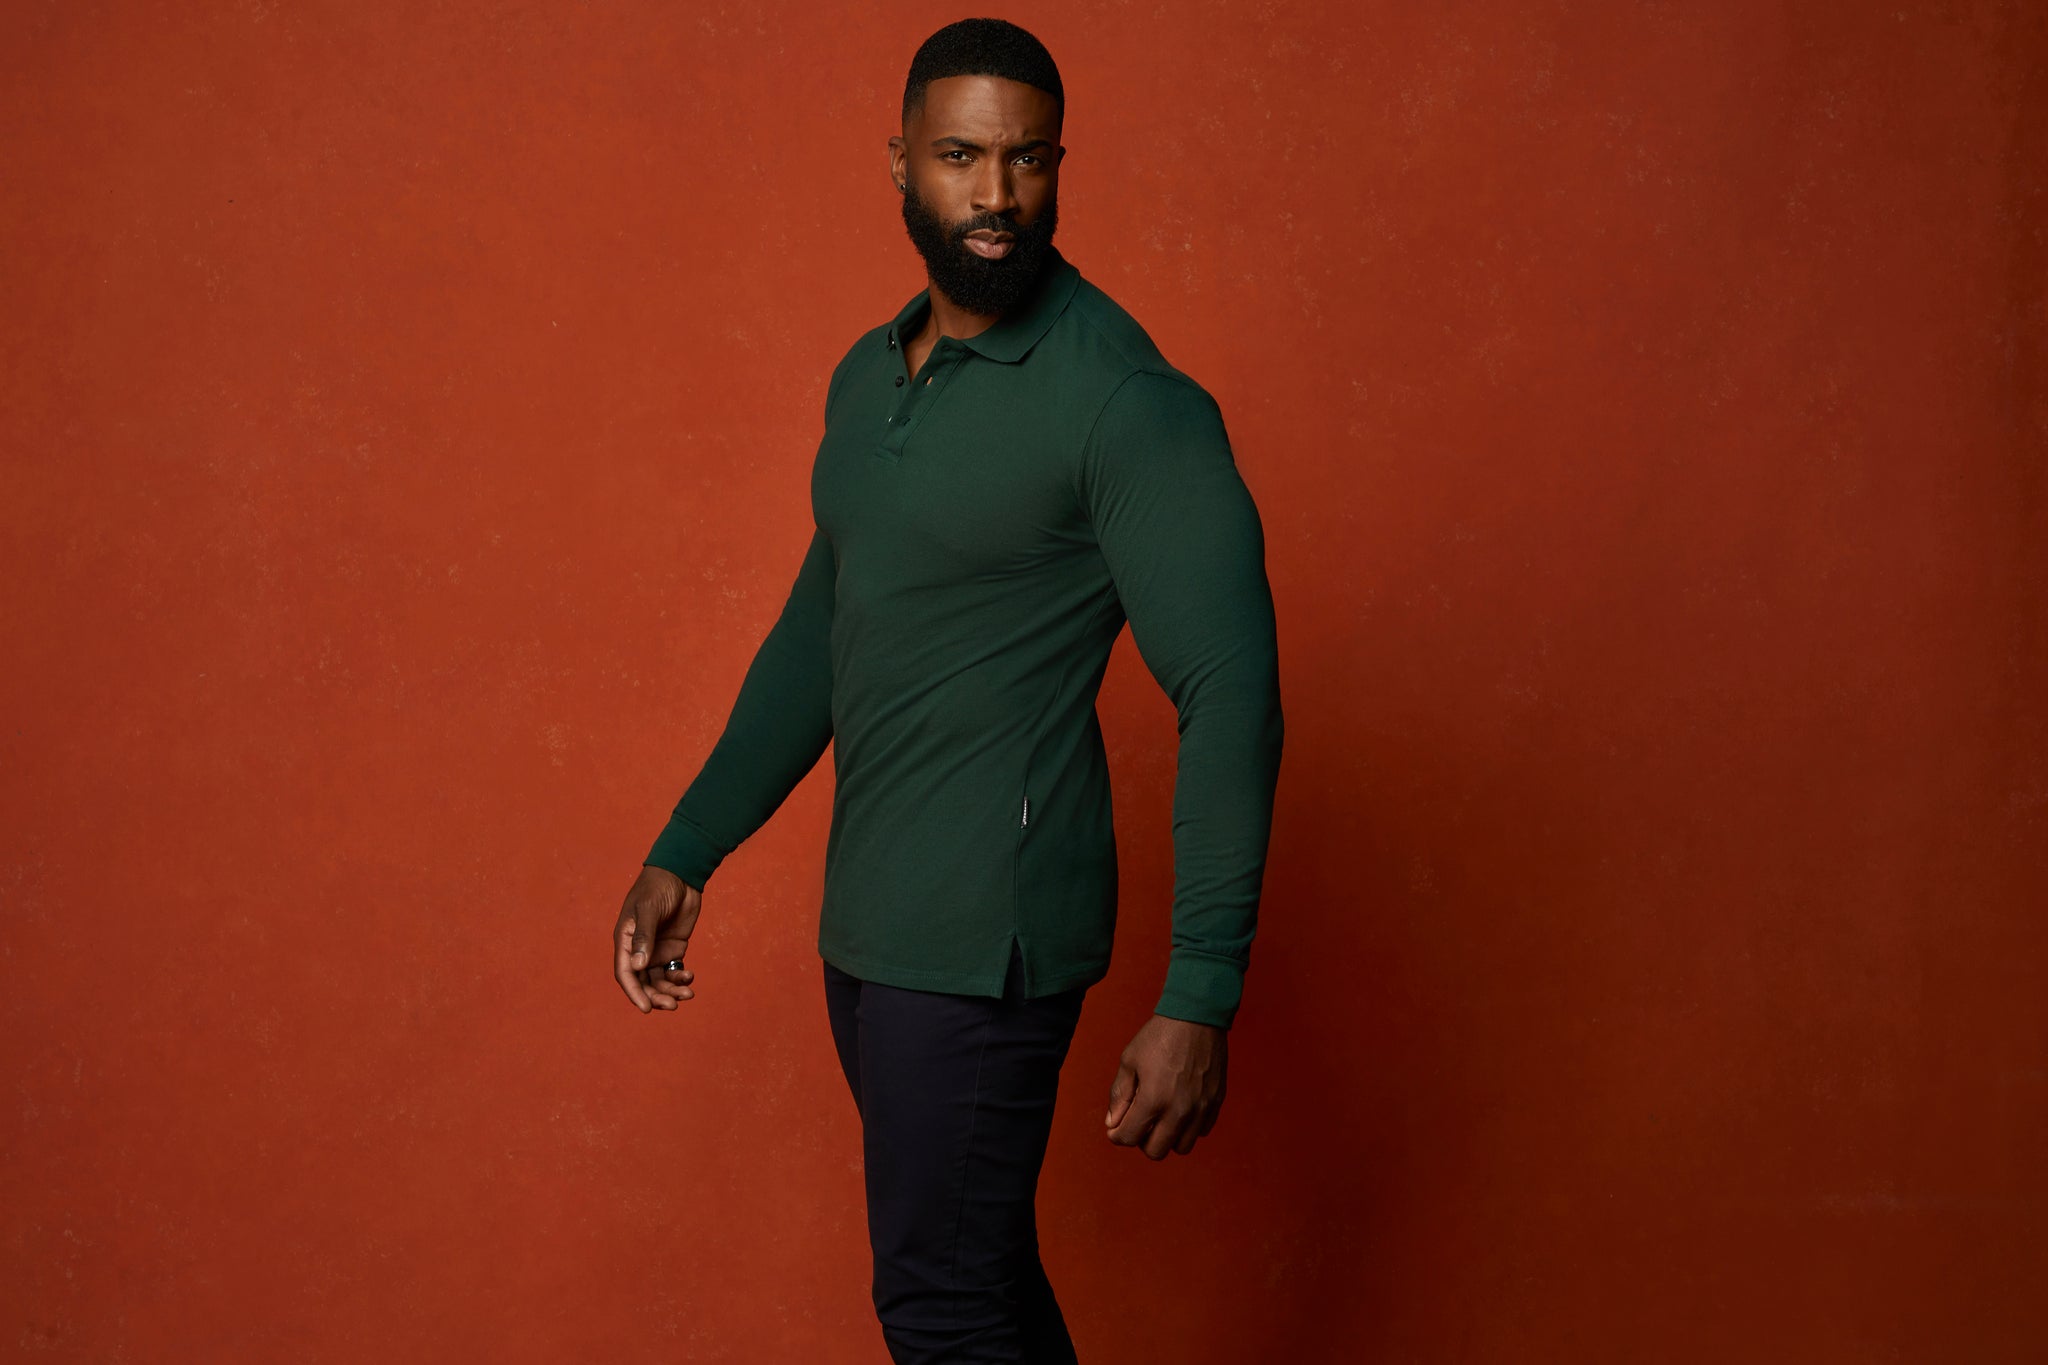
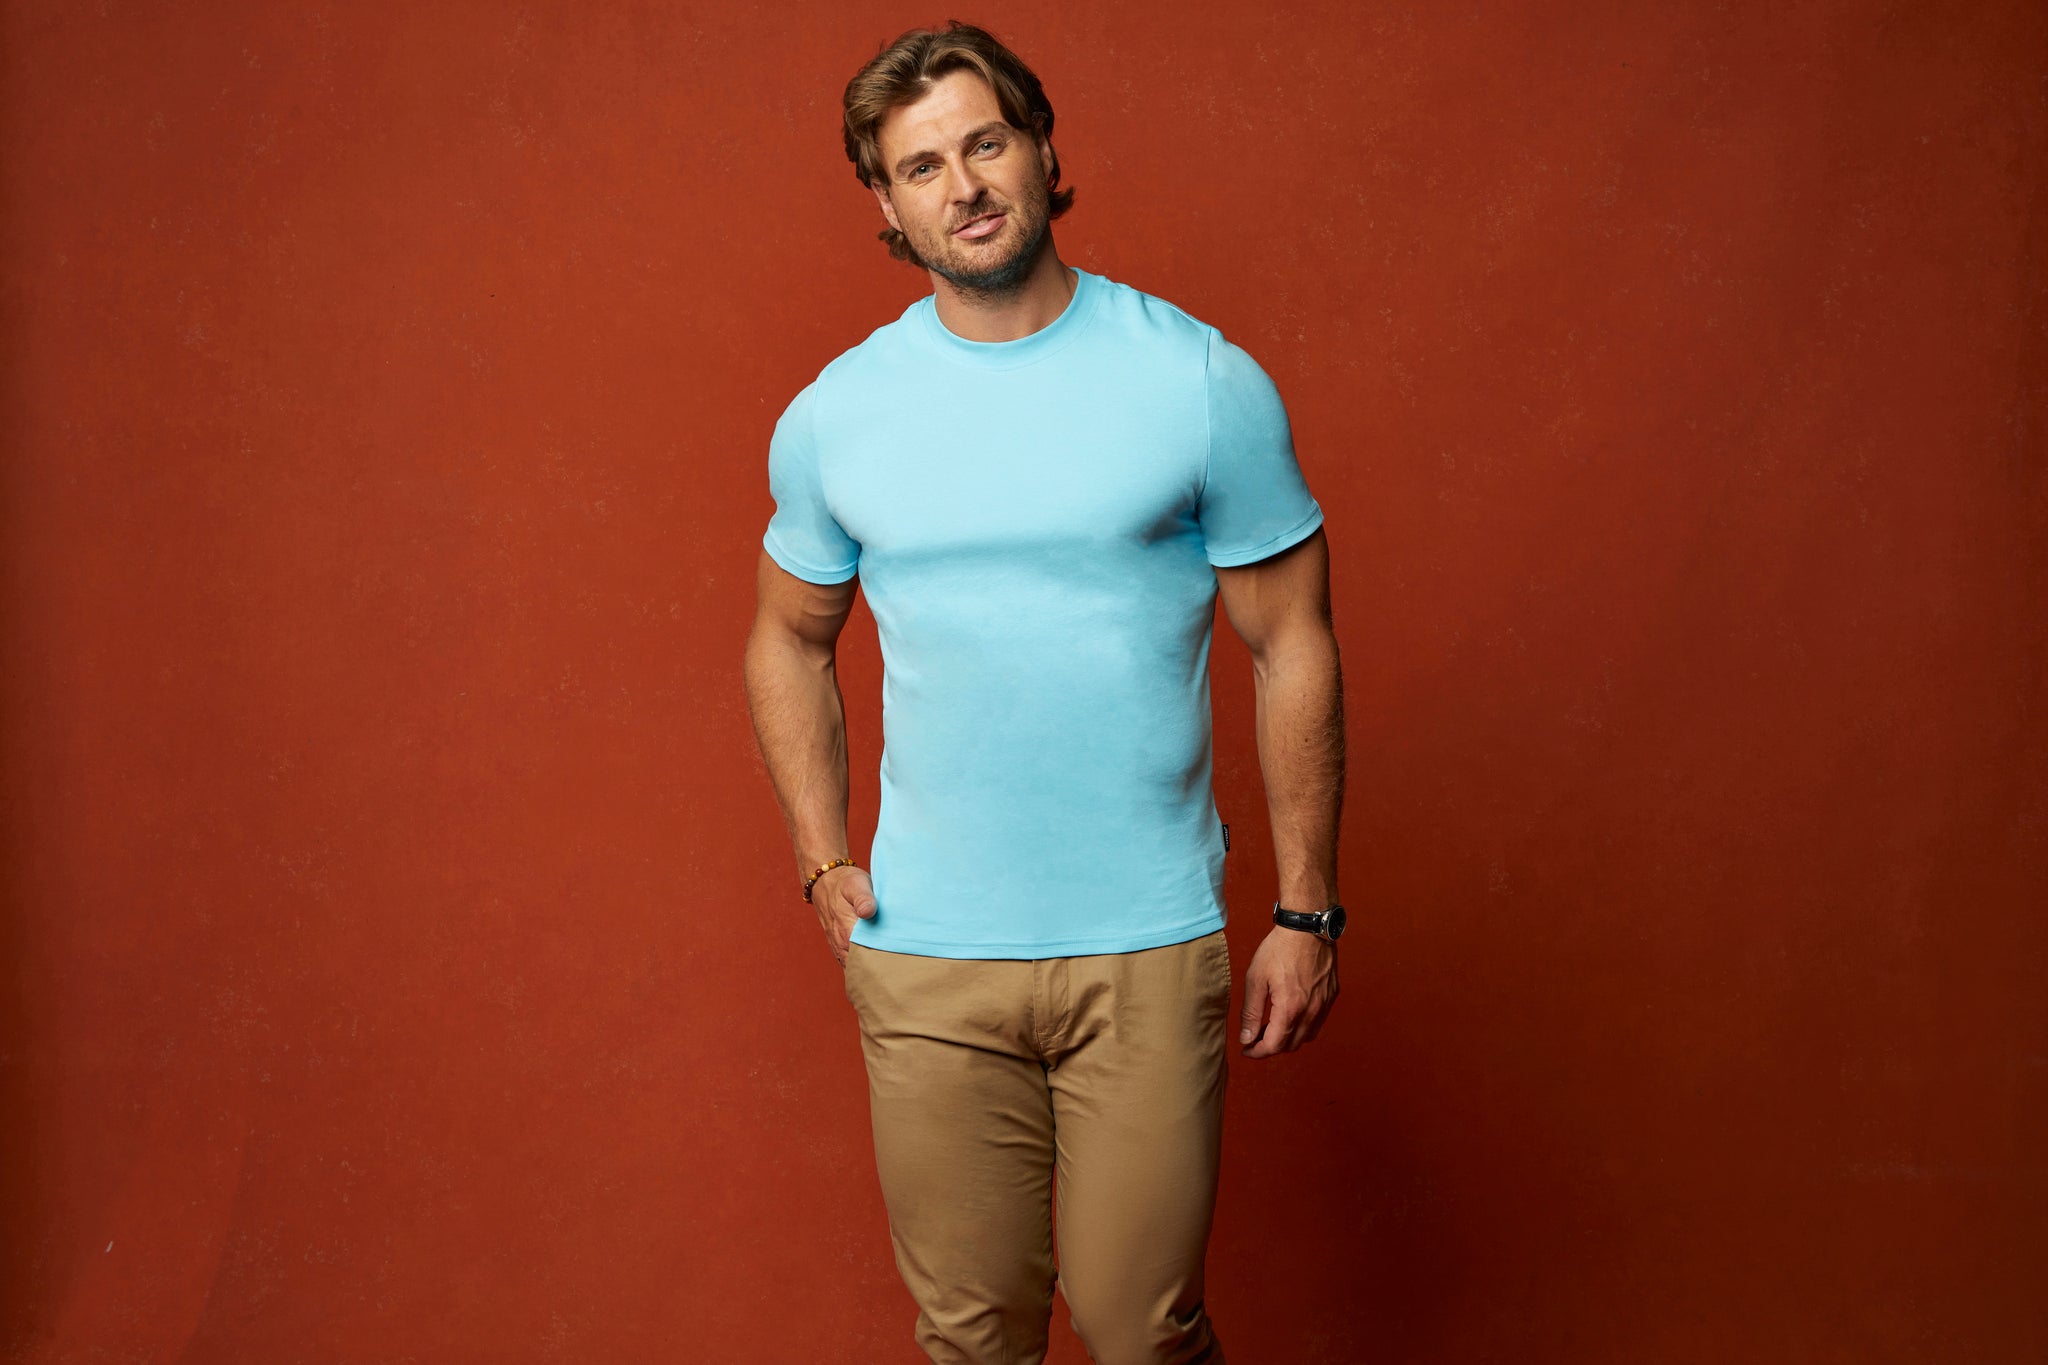
Bodybuilders and athletes looking who are looking for a muscle fit shirt. Our Tapered collection also includes muscle fit t-shirts and muscle fit polos.

